Creation Of VDI Using XenDesktop DDC
In this step-by-step guide I will install and configuring Citrix XenDesktop 5.6 (FP1) on a Windows Server 2008 R2 using a Microsoft SQL 2012 database installed on a separate server.
I’ll show you how to setup XenDesktop Machine Creation Services (MCS), creating a streamed VDI Desktop Group (from Citrix Provisioning Services) and finally creating the User Assignments.
Preparations
Before starting with the installation en configuration of XenDesktop you need to do some preparations. If you want to register the Citrix XenDesktop Controller in Active Directory, you need to create an OU where you want to reside VDI’s. Optionally you can create an OU for each XenDesktop deployment group like “Assigned Desktops” and “Pooled Desktops” OR you can create OU for each vDisk (Call Center, Support Desk).
Prerequisites
The Citrix XenDesktop Controllers has the following prerequisites;
- Microsoft .NET Framework 3.5 with Service Pack 1
- Internet Information Services (IIS) and ASP.NET 2.0. IIS
- Visual J# 2.0 Redistributable Package, Second Edition
- Visual C++ 2008 with Service Pack 1 Redistributable Package
- Windows PowerShell version 2.0
- Internet Information Services (IIS) and ASP.NET 2.0. IIS
- Visual J# 2.0 Redistributable Package, Second Edition
- Visual C++ 2008 with Service Pack 1 Redistributable Package
- Windows PowerShell version 2.0
Desktop Director Prerequisites;
- Microsoft .NET Framework 3.5 with Service Pack 1
- Internet Information Services (IIS) and ASP.NET 2.0
- Windows Remote Management (WinRM) 2.0
- Adobe Flash Player 10 or higher
- Internet Information Services (IIS) and ASP.NET 2.0
- Windows Remote Management (WinRM) 2.0
- Adobe Flash Player 10 or higher
Installing Citrix XenDesktop 5.6

Start the setup and click Install XenDesktop
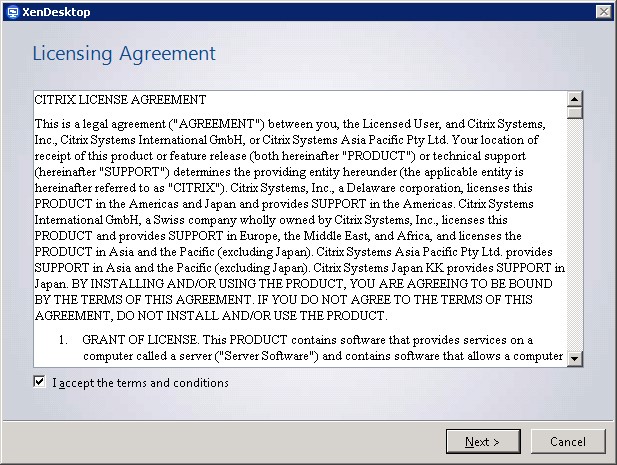
Select “I accept the terms and conditions” and click Next

I’m using a separate SQL server, license server and StoreFront server so I select only the XenDesktop Controller, Desktop Studio and Desktop Director. Click Next

Click Install

Deselect “Configure XenDesktop after closing” and click Close. I’m using a separate Microsoft SQL Server 2012. Before configuring XenDesktop I need to update the SQL Shared Management Objects, otherwise XenDesktop will not connect to the database.
Installing Microsoft SQL Server 2008 R2 Shared Management Objects
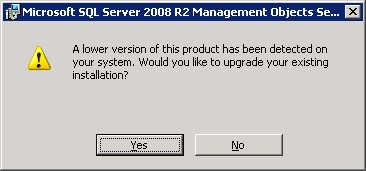
Start the Microsoft SQL Server 2008 R2 Shared Management Objects setup and click Yes
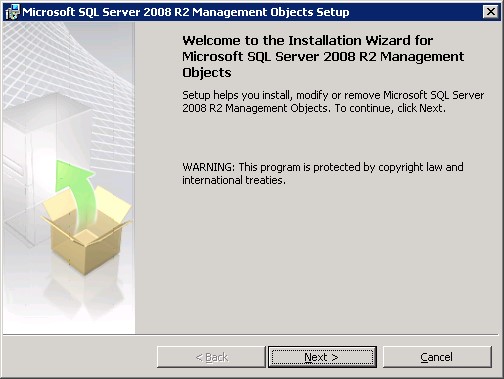
Click Next

Select “I accept the terms in the license agreement” and click Next
Click Next

Click Install

Click Finish
Configuring Citrix XenDesktop 5.6

Start the Citrix Desktop Studio and click Desktop deployment

Enter the Site name (any name you like) and fill in the requested information for the database configuration.
In my case I let this XenDesktop configuration wizard create the database. Be sure that the user account under which you configure XenDesktop have DBCreator and SecurityAdmin rights on the Microsoft SQL server.. Click Test connection
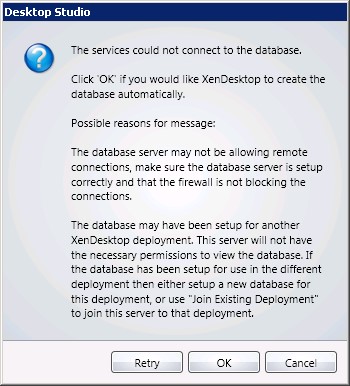
Click OK

Click OK
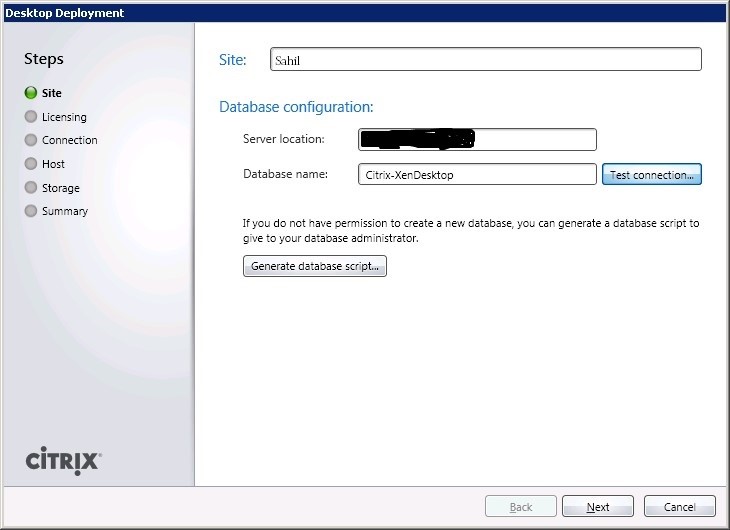
Click Next

Enter your Citrix License server and select the correct License model. Click Next

To add a Vmware esxi host , select Vmware Esxi as Host type and fill in the requested information about the host. Enter a Connection name (any name you like) and click Next

Enter a Host name (any name you like) and click Next
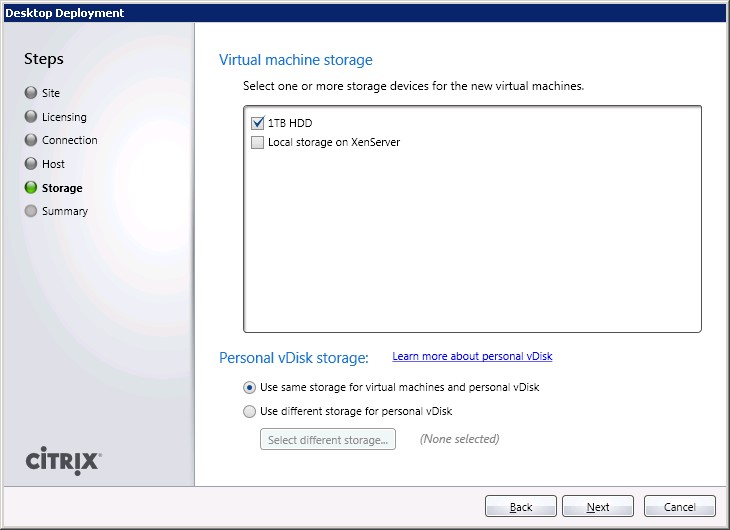
Select the storage you want to use for the virtual machines and click Next
Click Finish
Register the XenDesktop Controller in Active Directory (optional)
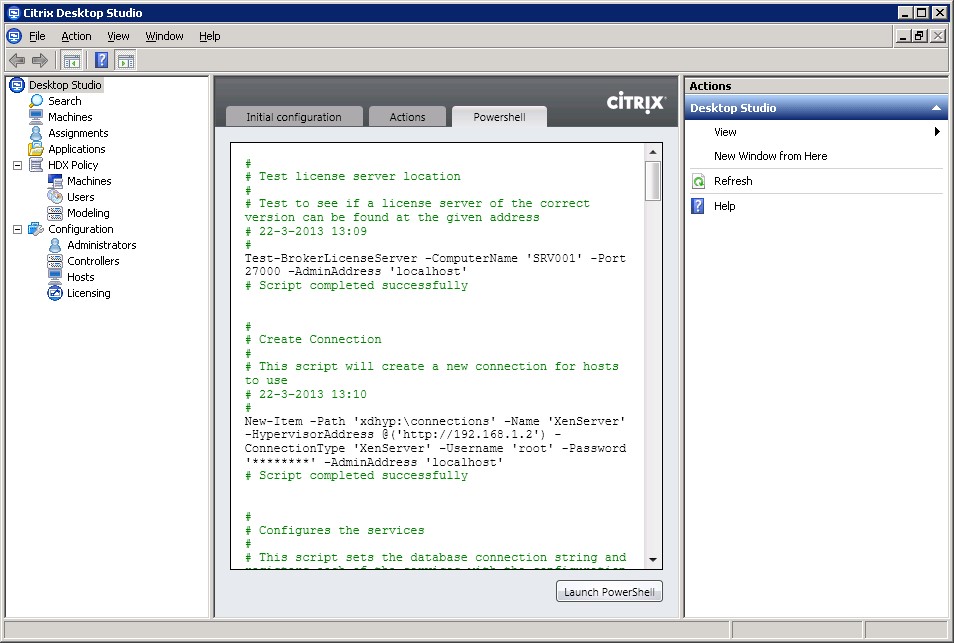
On the left side on the screen select Desktop Studio, in the middle of the screen open the PowerShell tab, as a final step, at the bottom of the screen click Launch PowerShell

Run the following command “Set-ExecutionPolicy RemoteSigned”. When asking to execute policy, type “Y” and hit enter.

Go to the folder “C:\Program Files\Citrix\Broker\Service\Setup Scripts” and run the following command;
.\Set-ADControllerDiscovery.ps1 –on –ExistingOuDN “<OU Distinguished Name>”
For example;
.\Set-ADControllerDiscovery.ps1 –on –ExistingOuDN “OU=XenDesktop,OU=Citrix,OU=Servers,OU=PoC,DC=Hobo,DC=LAN”
After running this script, restart the Citrix Broker Service.

In the OU specified in the previous step there is now a RegistrationServices Container, a Farm SCP serviceConnectionPoint and a Controllers Security Group where the XenDesktop Controller is member of.
Provisioning New VM
Now it’s time to start provisioning new VMs. In the PVS Console, right click on your site name and click “XenDesktop Setup Wizard…”

Hit Next at the Welcome screen
 Type in the FQDN of only one of your DDCs and hit Next
Select the host you want to run your machines on and then hit Set Template to set the VM template.
 Type in credentials for your Host and hit Log On, you will see all the templates on the host. Choose the VM template you had created in the steps above and hit OK and then Next.
Choose your Device Collection and vDisk
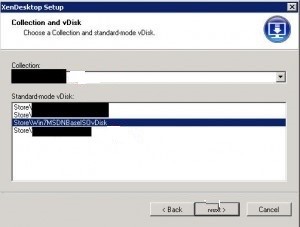
Now you can create a new Catalog or use an existing catalog. In this example, I am going to use an existing catalog. Select your Admins and hit Next.

Choose the number of VMs to create. I will choose 5 in this example. Leave the default of creating new AD computer accounts.

Choose the OU you want your new VMs to be put in. You can also choose the naming scheme for the new VMs at this point.Hit Next.

You will see the Summary screen. Hit Finish and your VMs will start to be created. The progress bar will show you the progress but you can also go to VCenter and watch the VMs beign created. They will not be powered on by default since you haven’t instructed your DDC to do so yet.

Now go to your DDC and open up Desktop Studio. Under Machines, you will see your catalog and it will show there are 5 free machines that have not been assigned.
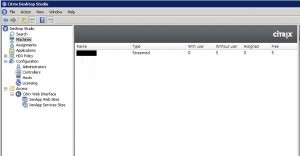
Double click on the catalog and you will see the 5 machines but their SIDs since they have not been powered on yet.
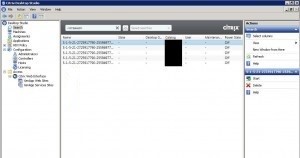
Click on Assignments in the left and create a new Desktop Group

Choose your Catalog, add all 5 machines, and hit Next
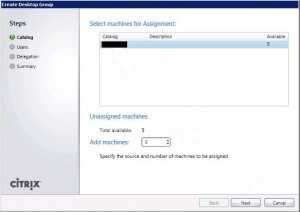
Add your users and hit Next

Admins should already be selected so hit Next

Choose a Display Name and Desktop Group Name. The Display Name will be shown to the end user in the Web Interface. The Desktop Group name is for within Desktop Studio. Hit Finish.
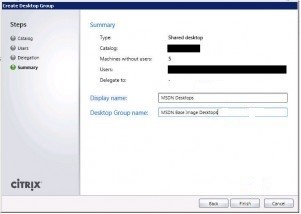
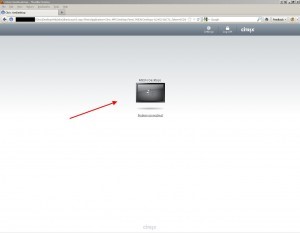
Now go to your Web Interface (or the DDC itself in this example). Login using an account you have assigned one of your VMs to. If it’s the only thing on your WI, the desktop will start booting up immediately.
 Log into your new VM and create and you will see the Welcome message.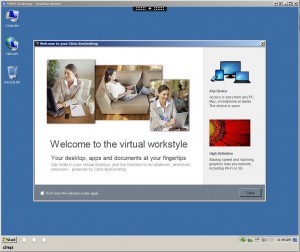
Create a new text document on the desktop. Then log off.
 Click the desktop icon again on the WI and it will launch the VM again. It will likely be another VM entirely you will be logging onto, but of course it will look the same. You will notice your text document is gone now. Exactly as expected.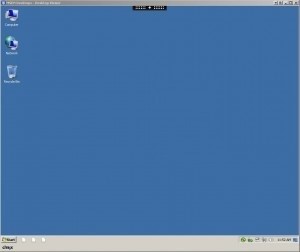
That’s it! You are now up and running with your first provisioned desktops. Now you can create copies of the VHDs and begin customizing your images for different departments. Make sure the disks are in private mode when making your changes. You can also use the versioning feature for little changes to the images like Windows Updates.
SETTING UP WRITE CACHE
So Write Cache is that big scary thing that can make or break your PVS implementation. Where you put it makes a world of difference. There are several options available where write cache can be stored. Most people opt for caching on a hidden local drive on the VM i.e. on your Host local disks or direct attached storage on the Host. It’s cheap and it works well for most implementations.
Keep in mind it is not shared when you do this. Citrix has a good article called “How to Add a Persistent Volume to Your Provisioned Virtual Machine in XenServer” located here:
And another excellent blog post here on PVS write cache size considerations:
1.Go to your Store, copy the .vhd file, paste it in the same location. Call the new VHD file whatever you like.
In the PVS Console, right click Store and click “Add or Import Existing vDisks. Search the store and add the vDisk you just created.
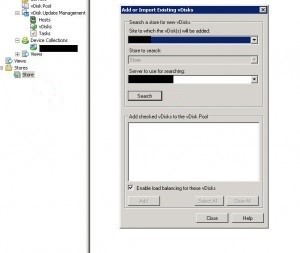
2.Under properties, make sure to enable “Enable Active Directory machine account password management” and KMS Service because they will likely not be checked when importing just the vhd.
3.Make sure the vDisk is in private mode
4.Go to your device collection and assign the vdisk to a device. You can use the original VM you were using to build out the Windows 7 image. Make sure it is set to boot from vDisk.
5.Go to VM Edit Settings in Vcenter, , and hit Add for new Hard disk . You can name it something like “Win7MSDNBaseISO-WC”. We will leave the size as 10 GB. That’s a pretty decent size for a Windows 7 box rebooted once a week. Then hit Add.
6.Ensure the new disk was created with position 1. Position 0 should be your c: drive.
7.Now power on the VM, booting from the DVD and with the PVS boot disk in the drive. You will notice that Windows has detected a new drive under Disk Management. Initialize it.
8.Right click the new disk, New Simple Volume, choose the full size of the drive, assign it z:, and format it as NTFS, label the volume “Write Cache”, then hit Finish on the confirmation page to format it.
9.Shut down the VM. Detach the c:, leaving only the 10 GB z:. Copy it. Rename it to a template name, then hit Convert to template.
10.Go to your PVS console, under Store, and switch the vDisk to Standard Image and under Cache type, switch it to “Cache on device hard drive” and hit OK.
11.Go to your Site in the PVS Console and run through the XenDesktop setup wizard again like you did before but using your new template. Also go to your DDC and setup your desktop group, assignments, etc. like before but create a new desktop group so you know which ones are the new “local write cache” machines.
12.Launch one of your new VMs. You will see the Z: now called “Write Cache”. Also on the VM Summary, you will see 10 GB drives created for all your VMs.
