Once a company has a XenDesktop or XenApp environment that is pretty mature, they often turn to Citrix Provisioning Services (PVS) to help scale the environment. The main purpose of this blog post is to get you familiar with this technology and have the complete idea of how to implement it.
In this step-by-step installation guide I will install the Citrix Provisioning Services 6.1.16. I will use hotfix CPVS61016 as source for this installation, as this hotfix contains the complete installation.
In this scenario, Installation of PVS 6.1 server takes place on Windows server 2008 R2 server, as it does not officially support windows server 2012 for this installation yet.
Before Installation, following server and prerequisites needs to be there on the place. There must be a Citrix License server available with the proper licenses. For the vDisk Store there should be a drive created (local on the PVS server or on the network like ISCSI drive) and a service account must be created.
Service account permissions
An Active Directory account is needed as service account for the streaming service. Always use this account for the installation of Citrix PVS sever
The service account needs the following permissions;
Database:
- DB_Datareader;
- DB_Datawriter;
- Execute permissions on stored procedures;
- DB_Datawriter;
- Execute permissions on stored procedures;
System:
- Run as service
- Registry read access
- Program Files\Citrix\Provisioning Services (Full Control)
- Read/write access to any vDisk location
- If using Personal vDisks with XenDesktop, XenDesktop Full administrator privileges.
- Registry read access
- Program Files\Citrix\Provisioning Services (Full Control)
- Read/write access to any vDisk location
- If using Personal vDisks with XenDesktop, XenDesktop Full administrator privileges.
Active Directory:
- Domain User ( Make sure Password Never Expires)
- Create, Reset, and Delete computer object permissions on relating OU’s
- Reset password permissions on relating OU’s
- Create, Reset, and Delete computer object permissions on relating OU’s
- Reset password permissions on relating OU’s
Prerequisites
Citrix Provisioning Services has the following prerequisites;
Provisioning Services Console Requirements
- Microsoft Management Console 3.0
- Windows PowerShell 2.0
- Microsoft .NET 3.5 SP1
- Windows PowerShell 2.0
- Microsoft .NET 3.5 SP1
Windows Target Device
- Microsoft .NET 3.5 SP1
DHCP Scoop options
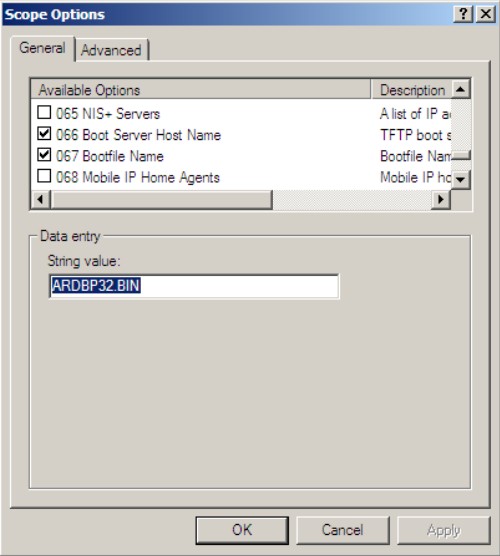
If PXE is not an option in your environment, you can use your existing DHCP server to provide the location of the TFTP server and the name of the bootstrap file to the target devices. You can do this with the following DHCP scoop options;
- Port 66: Boot Server Host Name
- Port 67: Bootfile Name (ARDBP32.BIN)
- Port 67: Bootfile Name (ARDBP32.BIN)
Providing the bootstrap information by using DHCP options 66 and 67 is best practice, use this when possible.
- Open DHCP manager – Right click Scope Options and choose Configure Scope Options – Select option 66: Fill in the ip-address of the TFTP server – Select option 67: Fill in ARDBP32.BIN – Click OK
SQL Server
SQL server is necessary for hosting the Provisioning Server database. This can either be SQL 2005 Express, Workgroup, Standard and Enterprise. The Provisioning Server installation media provides a SQL Express installation, use this for small implementations like for test and POC environments. The Provisioning Server database will be created during the Provisioning Server installation process. Also the permissions for the service account on the database will be automatically set. Make sure the account used for installing Provisioning Server has enough permission on the SQL server to create and configure the database.
But in this Scenario, I am going to use the Microsoft SQL 2008 server
Installing the Citrix Provisioning Services Console (step-by-step)
Insert the media and choose Install Server for 32bit/64bit Platform (depending on your OS)
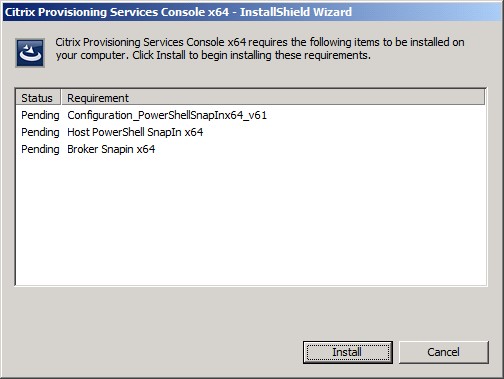
Start the Citrix Provisioning Services Console setup (PVS_Console_x64.exe) and click “Install”.
- click next to begin installation
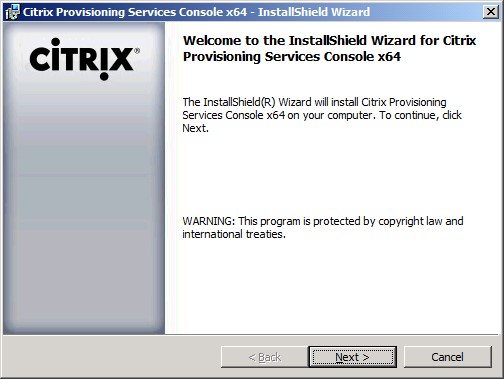
Click on the “Next” button.

Select “I accept the terms in the license agreement” and click on “Next”.

Click on the “Next” button.
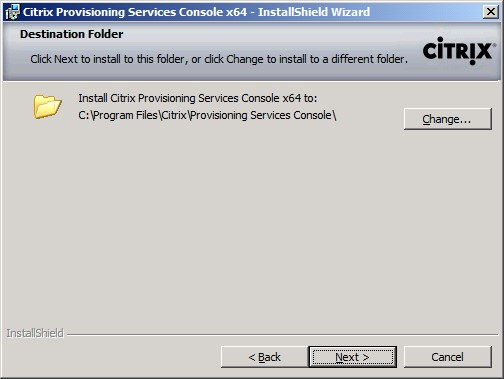
Click on the “Next” button.

Select “Custom” and click on the “Next” button.

Click on the “Next” button.

Click on the “Install” button.
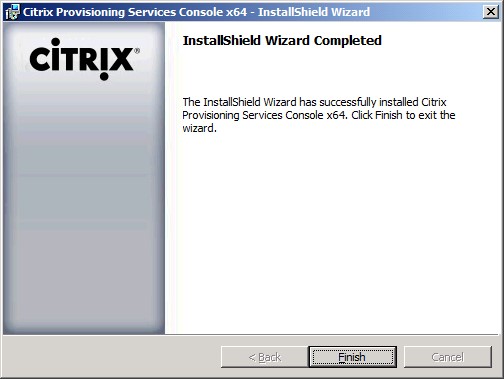
Click on the “Finish” button.
Installing the Citrix Provisioning Services Server (step-by-step)

Start the Citrix Provisioning Services Console setup (PVS_Server_x64.exe) and click on the “Install” button.
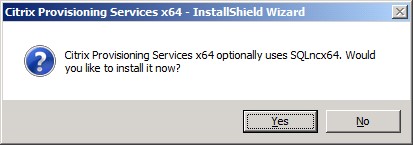
For the Database Mirroring feature, the SQL native client is required on the server. If you want to use this feature, press the “Yes” button.
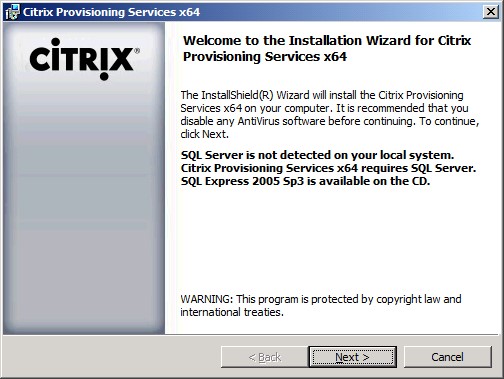
Click on the “Next” button.

Select “I accept the terms in the license agreement” and click on “Next”.
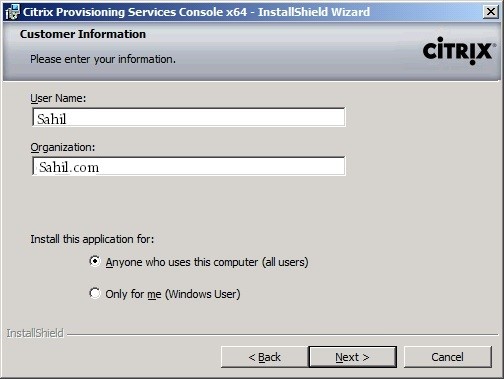
Fill in the requested information and click “Next”.

Click on the “Next” button.
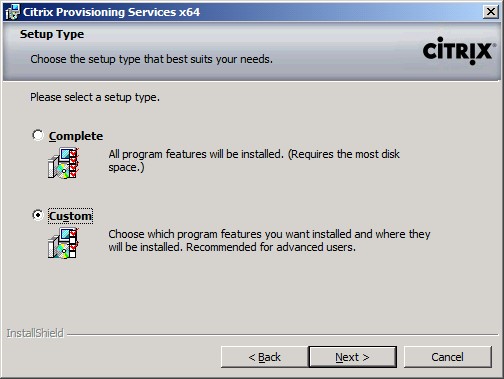
Select “Custom” and click on the “Next” button.

Click on the “Next” button.
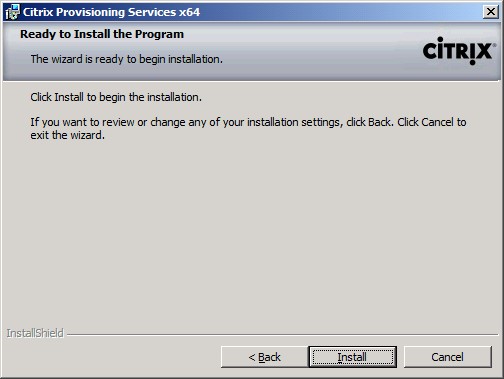
Click on the “Install” button.
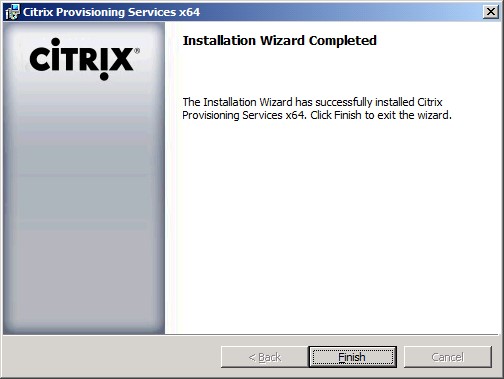
Click on the “Finish” button.
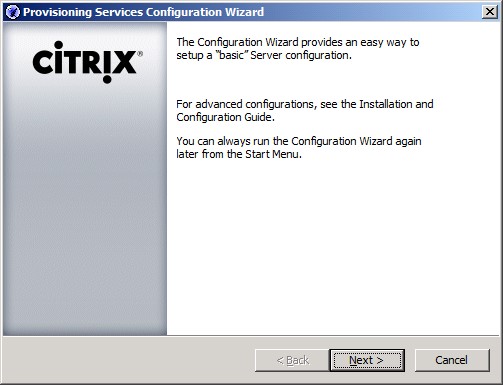
Click on the “Next” button.

In my PoC environment the DHCP Services runs on another server.
Select what is applicable and click “Next”.
Select what is applicable and click “Next”.
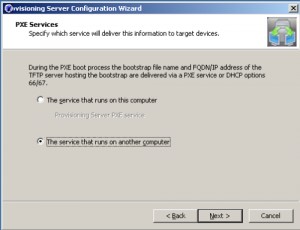
Choose to use PXE on another computer
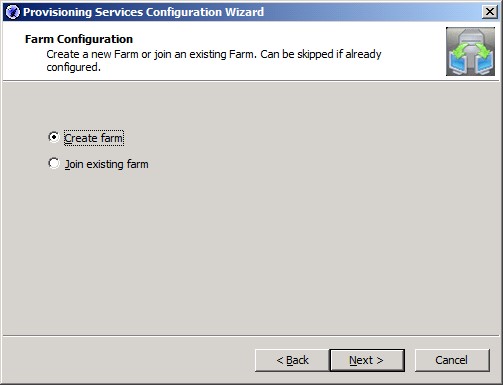
This is the first PVS server so choose the option “Create farm” and click “Next”

Fill in the requested information and click “Next”.

New Farm
a.) Fill in the name of the database
b.) Fill in the Farm name
c.) Fill in the name of the first Site, e.g. LocalSite(additional sites can be configured after the installation) d.) Fill in the name of the first device collection, e.g. XenApp Servers (additional collections can be configured after the installation)
e.) Choose Use Active Directory groups for security
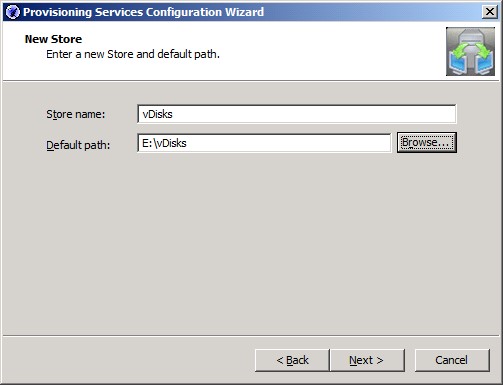
Fill in the vDisk Store folder created during the preparations and click “Next”.

Fill in the requested information for the License Server and click “Next”.
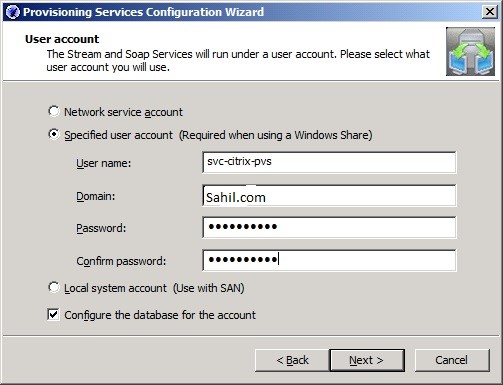
Fill in the Service account information created during the preparations of this installation and click “Next”.
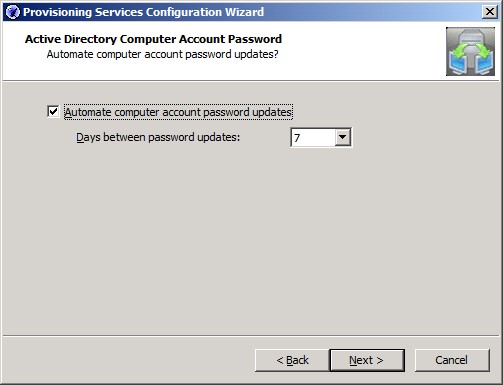
Select “Automate computer account password updates” and click on the “Next” button.
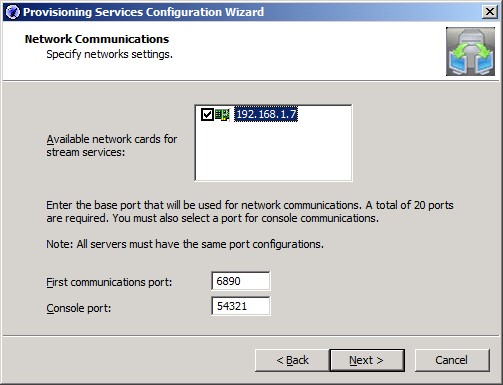
Click on the “Next” button.

Select “Use the Provisioning Services TFTP service” and click the Next button.

Click on the “Next” button.
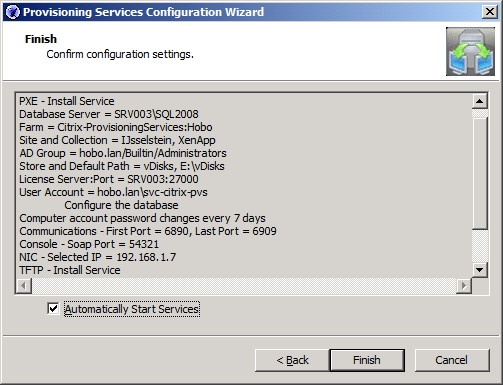
Click on the “Finish” button.
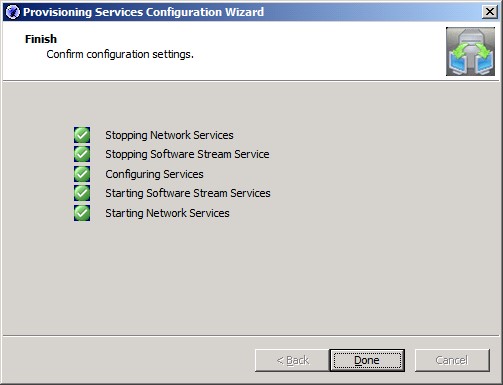
Click on the “Done” button.
No comments:
Post a Comment